particles.js
Embedding particles.js to your webflow project
Let's get right into setting the shape, color and number of particles you like.
You can also decide what happens when you click or hover over it.
To get started, visit particle.js.
On the top left corner you'll have all you need to change the look and behavior of the particles.
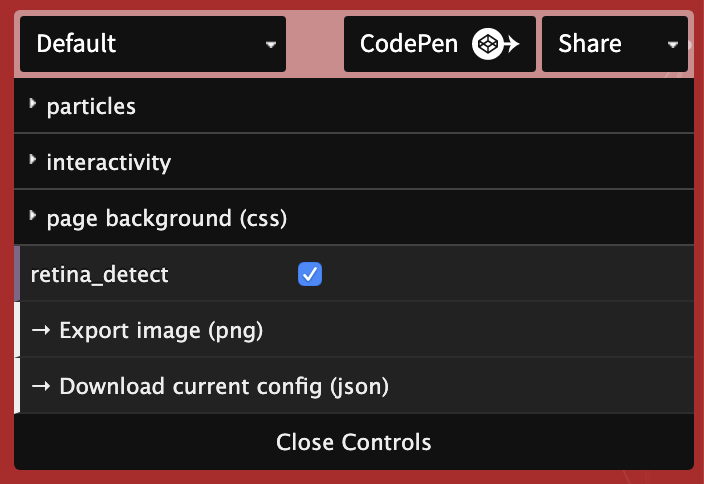
Play with the options until you reach your desired result.
Click the -> Download current config.
Now let's open the Webflow project you're working on.
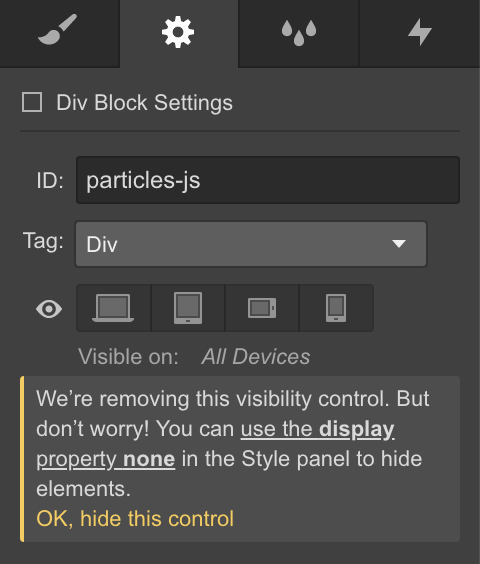
Place a Div where you want the particles to appear.
Set a Width and Hight to the div.
Give the Div an ID with this value: particles-js
Now let's put some custom code into the page.
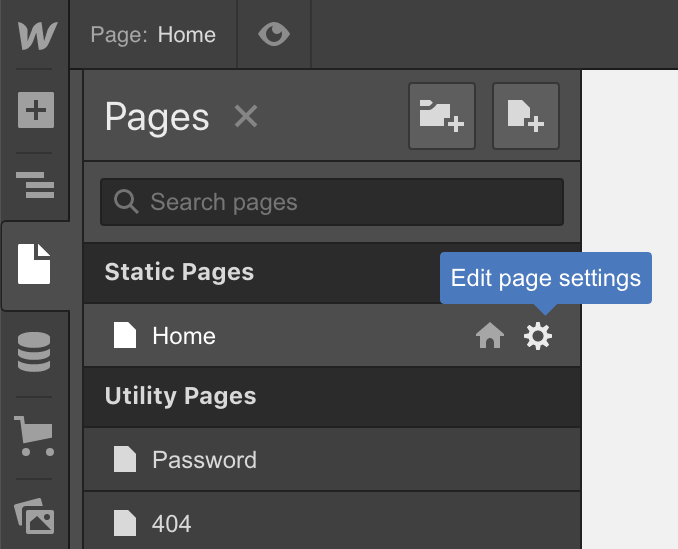
Click the cog icon next to the page name.
Scroll down to Custom Code.
Paste the following code into the body window.
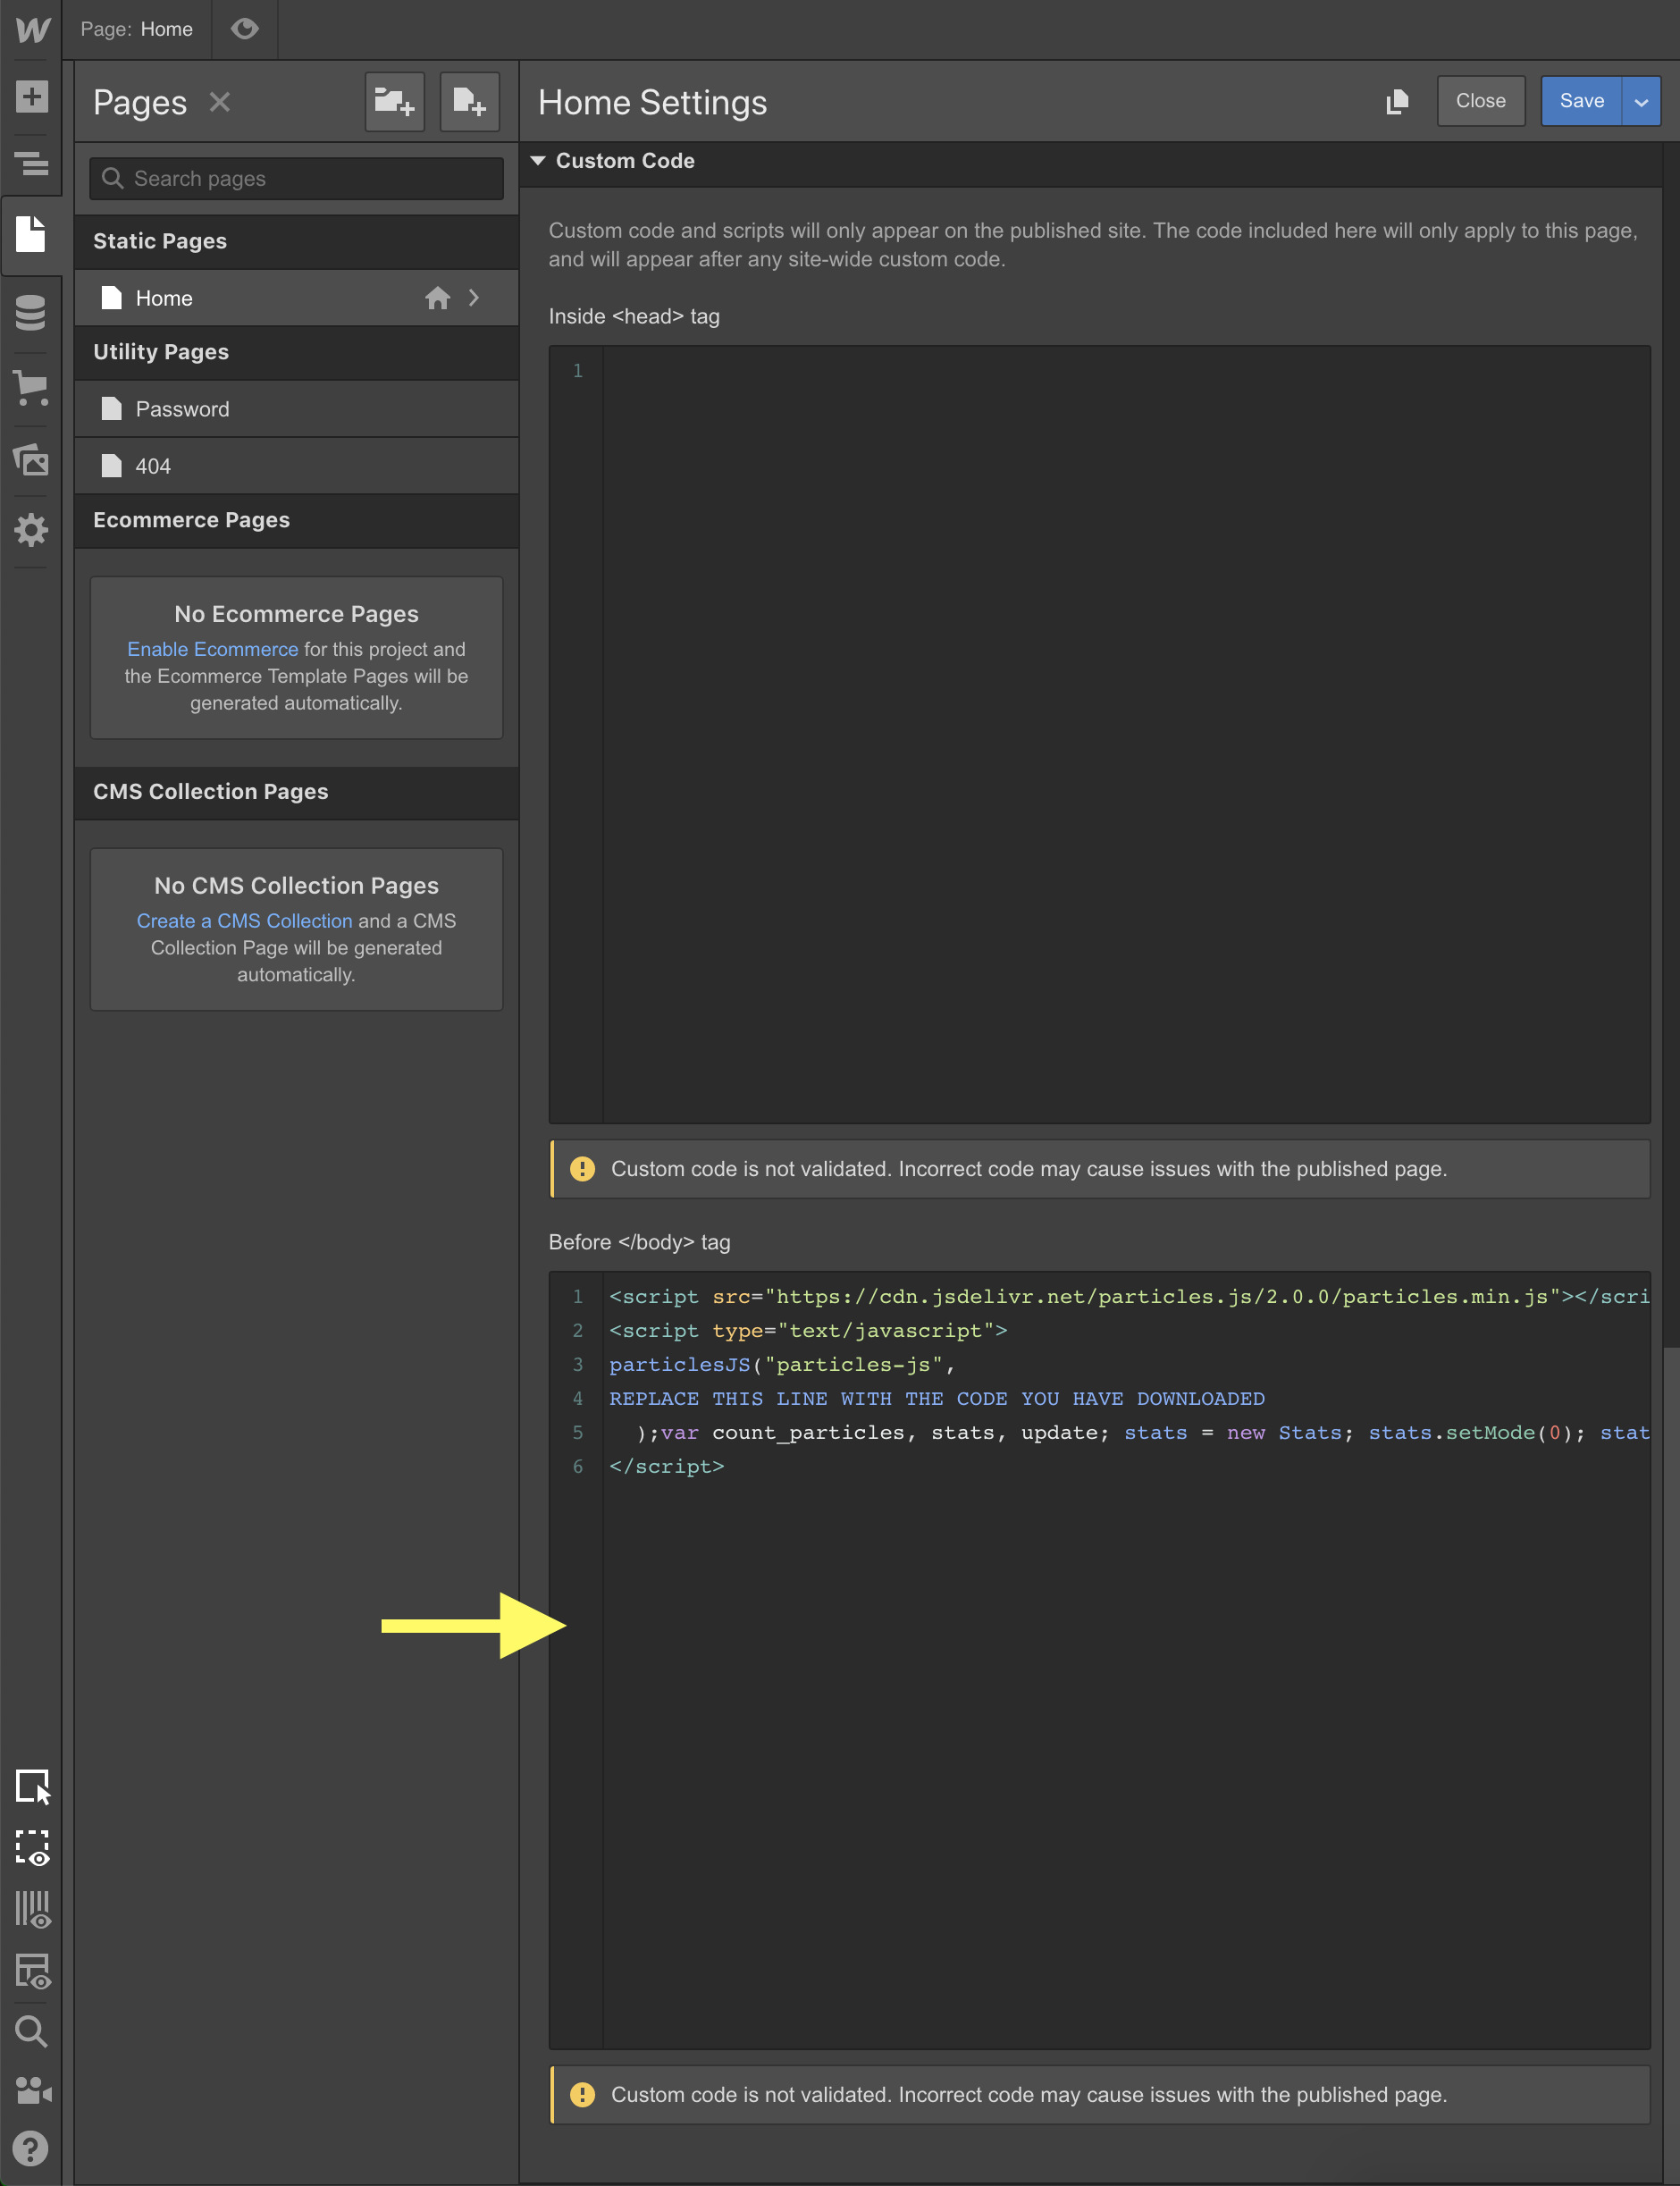
Now open the file you've downloaded earlier from the particles site.
Copy all the content and replace it with line number 4.
Click save.
Publish the project and enjoy your new creation.
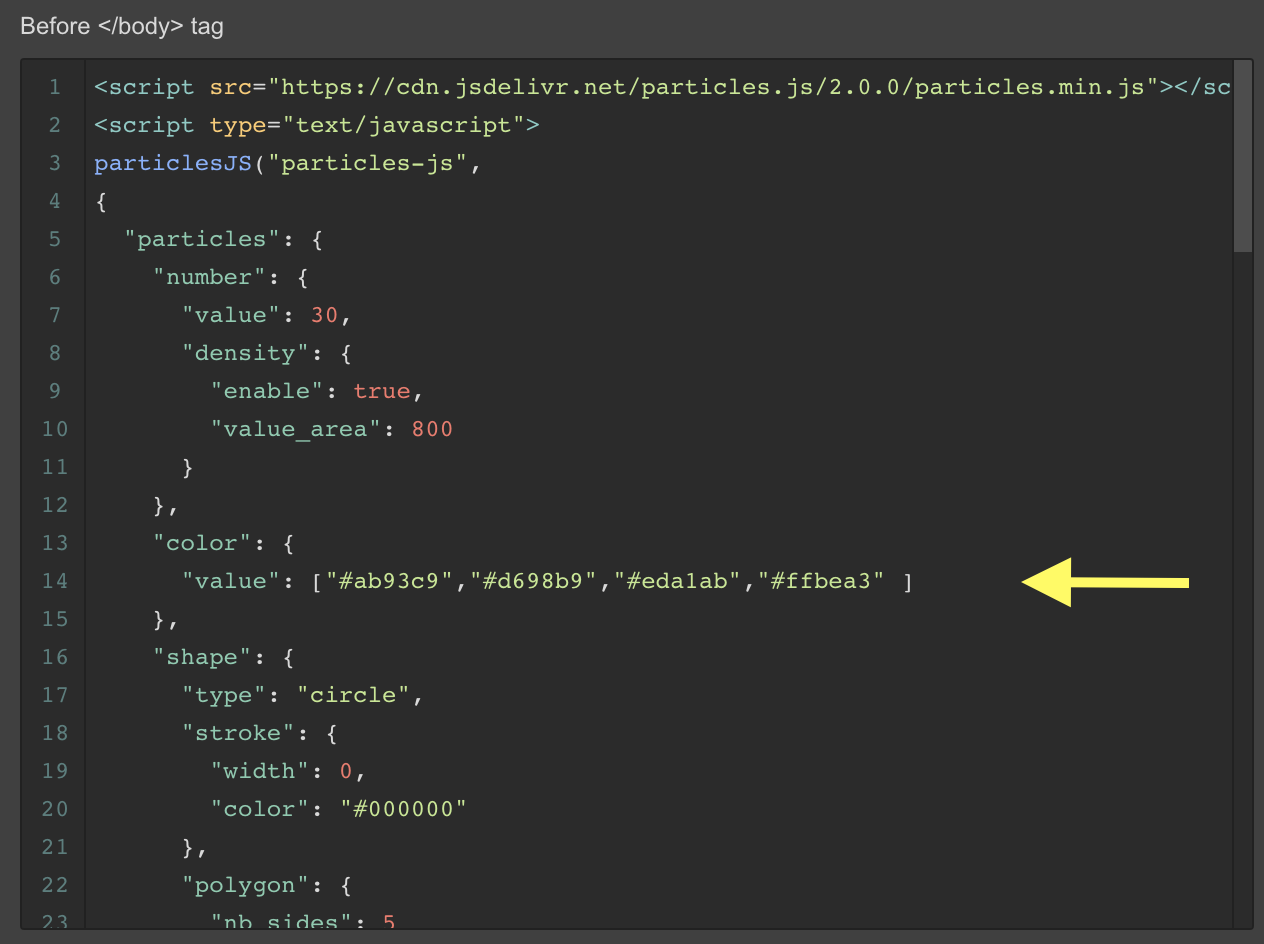
Extra tips: To get multiple colors for the particles, add more HEX colors to the color value line, see below.
Advanced tips
To get multiple colors for the particles, add more HEX colors to the color value line, see below.
The format of the value should be as follows: ["#color1", "#color2"]
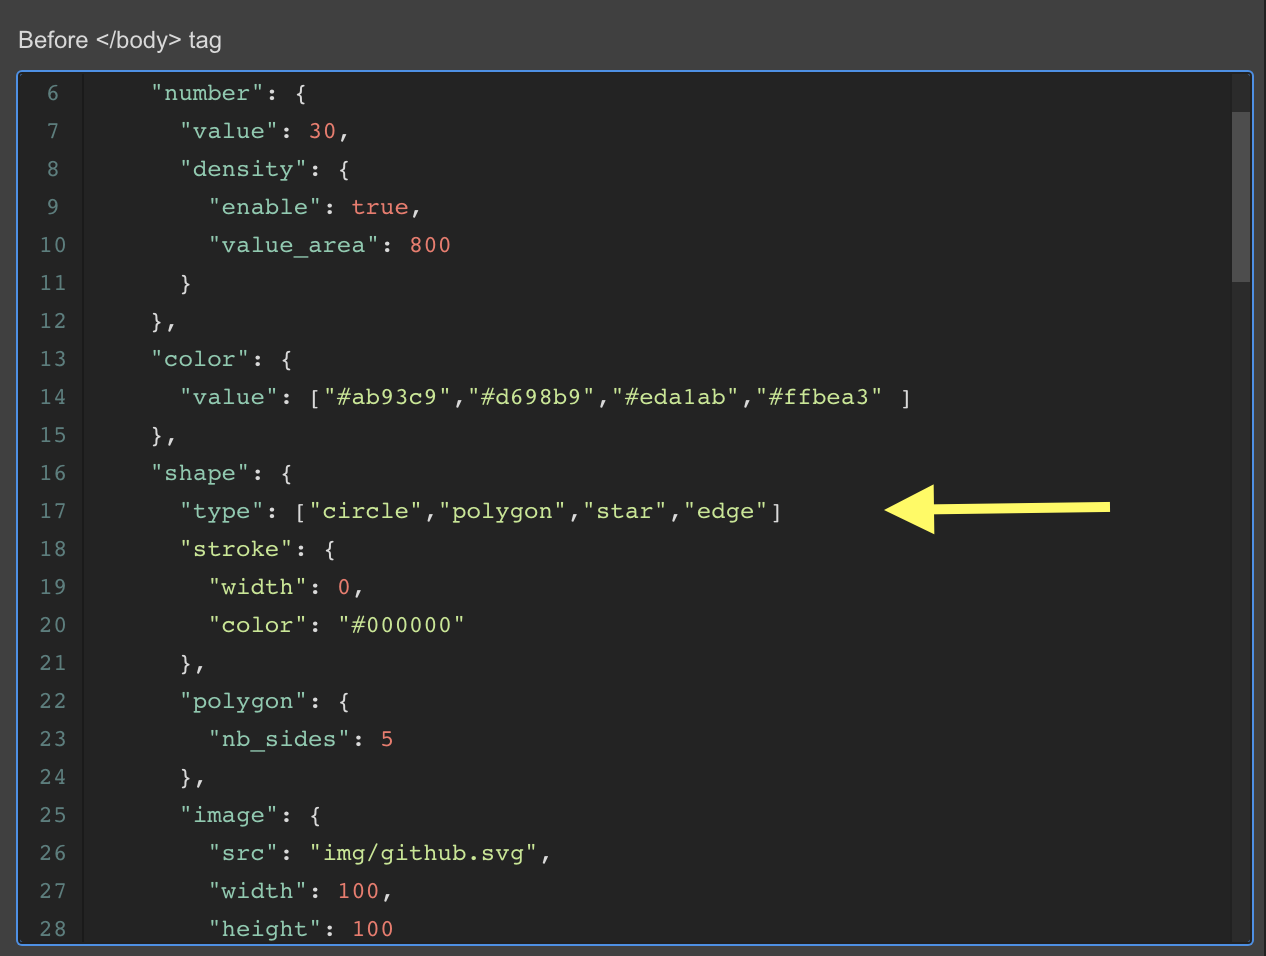
To get multiple shapes floating around, add the shape name next the type: see below.
Available shapes are, circle, edge, triangle, polygon, star and image.
The format of the value should be as follows: ["shape1, "shape2"]
To set a custom image as a floating particle, I found this way to be the easiest.
Create your desired shape in any design program, save it as a PNG or SVG file. (try to have it as light weight as possible)
Upload the image to Google Drive.
Right click on the image and select Get shareable link.
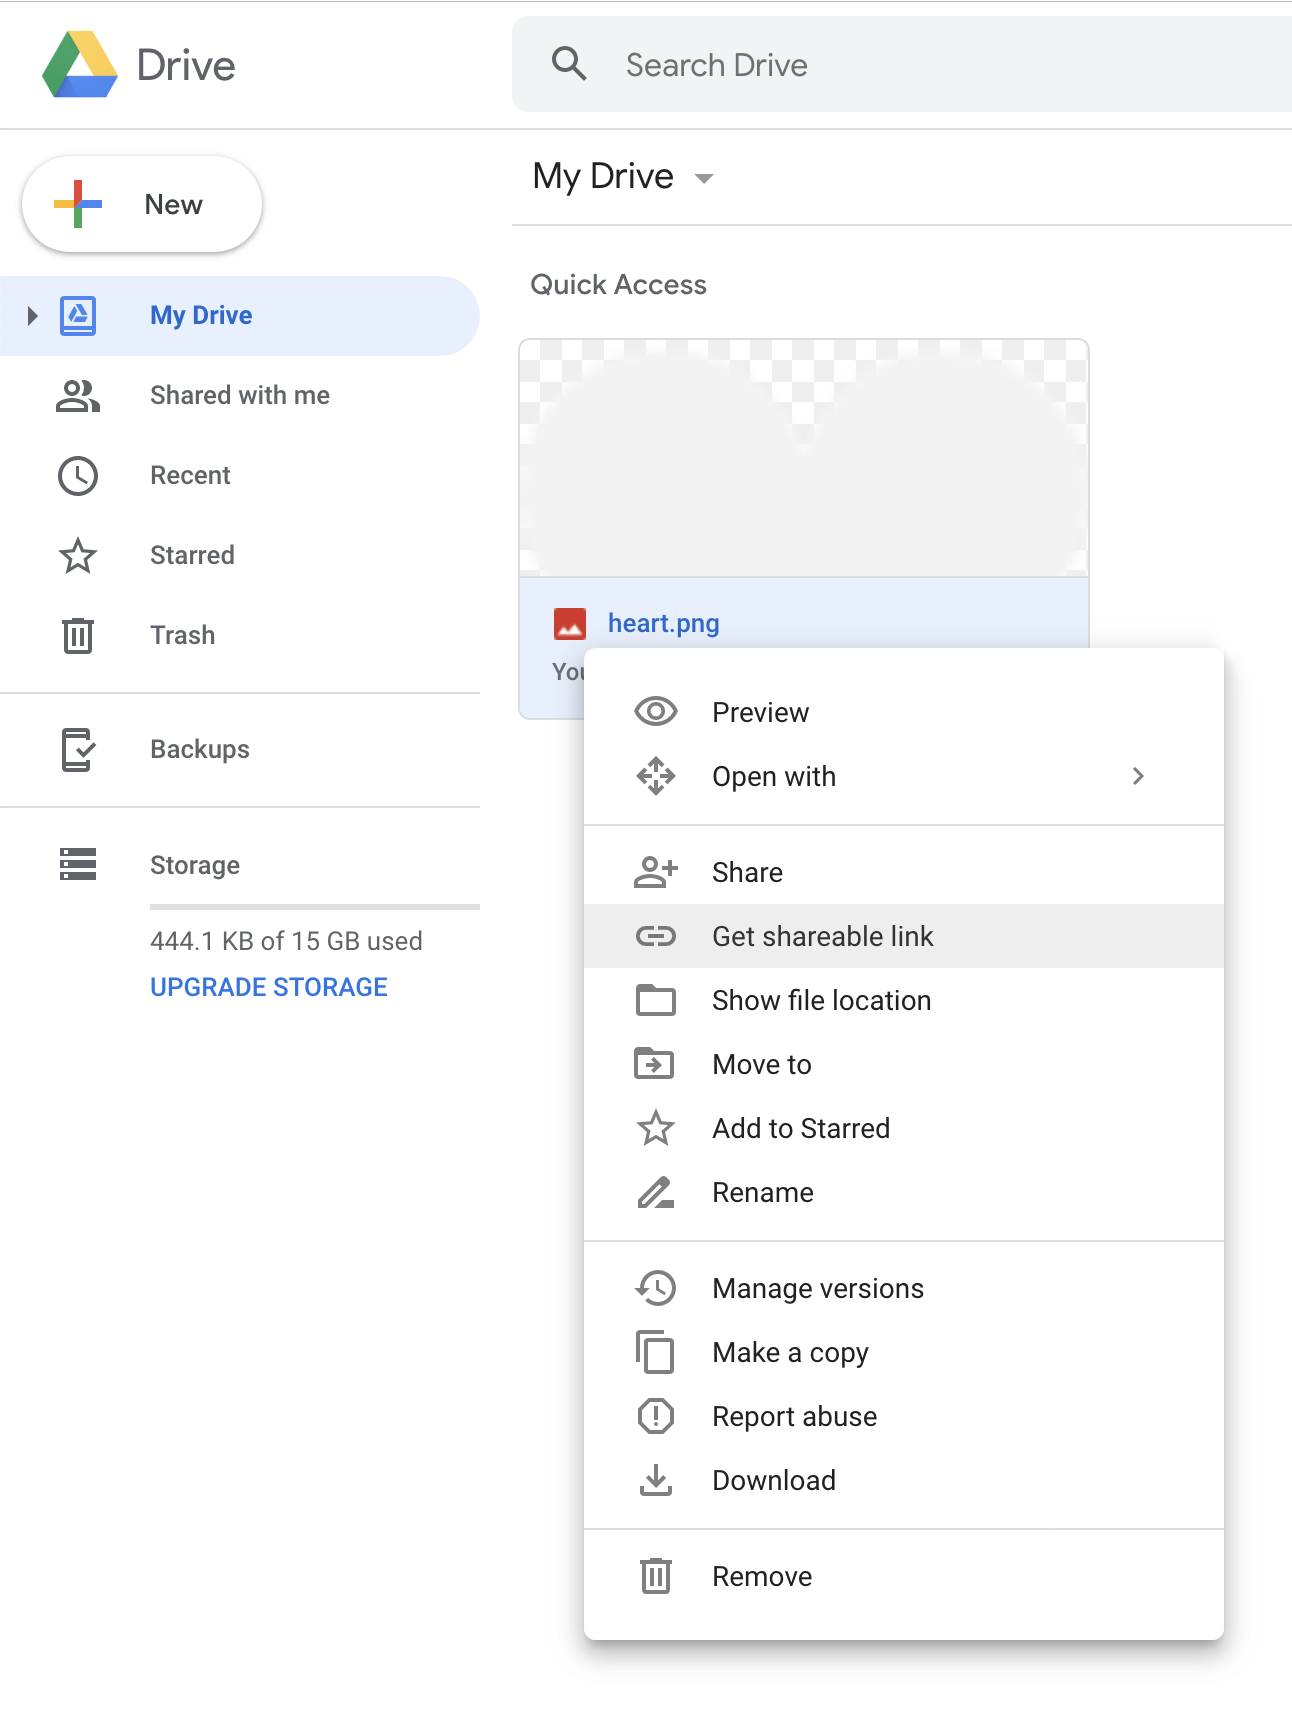
Copy the link and paste it in any text editable program.
Extract the id from the url. It should be a long value mixed with numbers and letters.
https://drive.google.com/open?id=1tUA8kplF22buBJLLB5hA5uhV58w7Dfa8
Append that value to the following url:
https://drive.google.com/uc?id=
So your link looks like this:
https://drive.google.com/uc?id=1tUA8kplF22buBJLLB5hA5uhV58w7Dfa8
Now in your Webflow project in the Custom Code window.
Set the shape type to "image".
A few lines down set the image src to your new url, surrounded by double quotes. See below.

Save, Publish, Done!